¶ Access the working hours management page
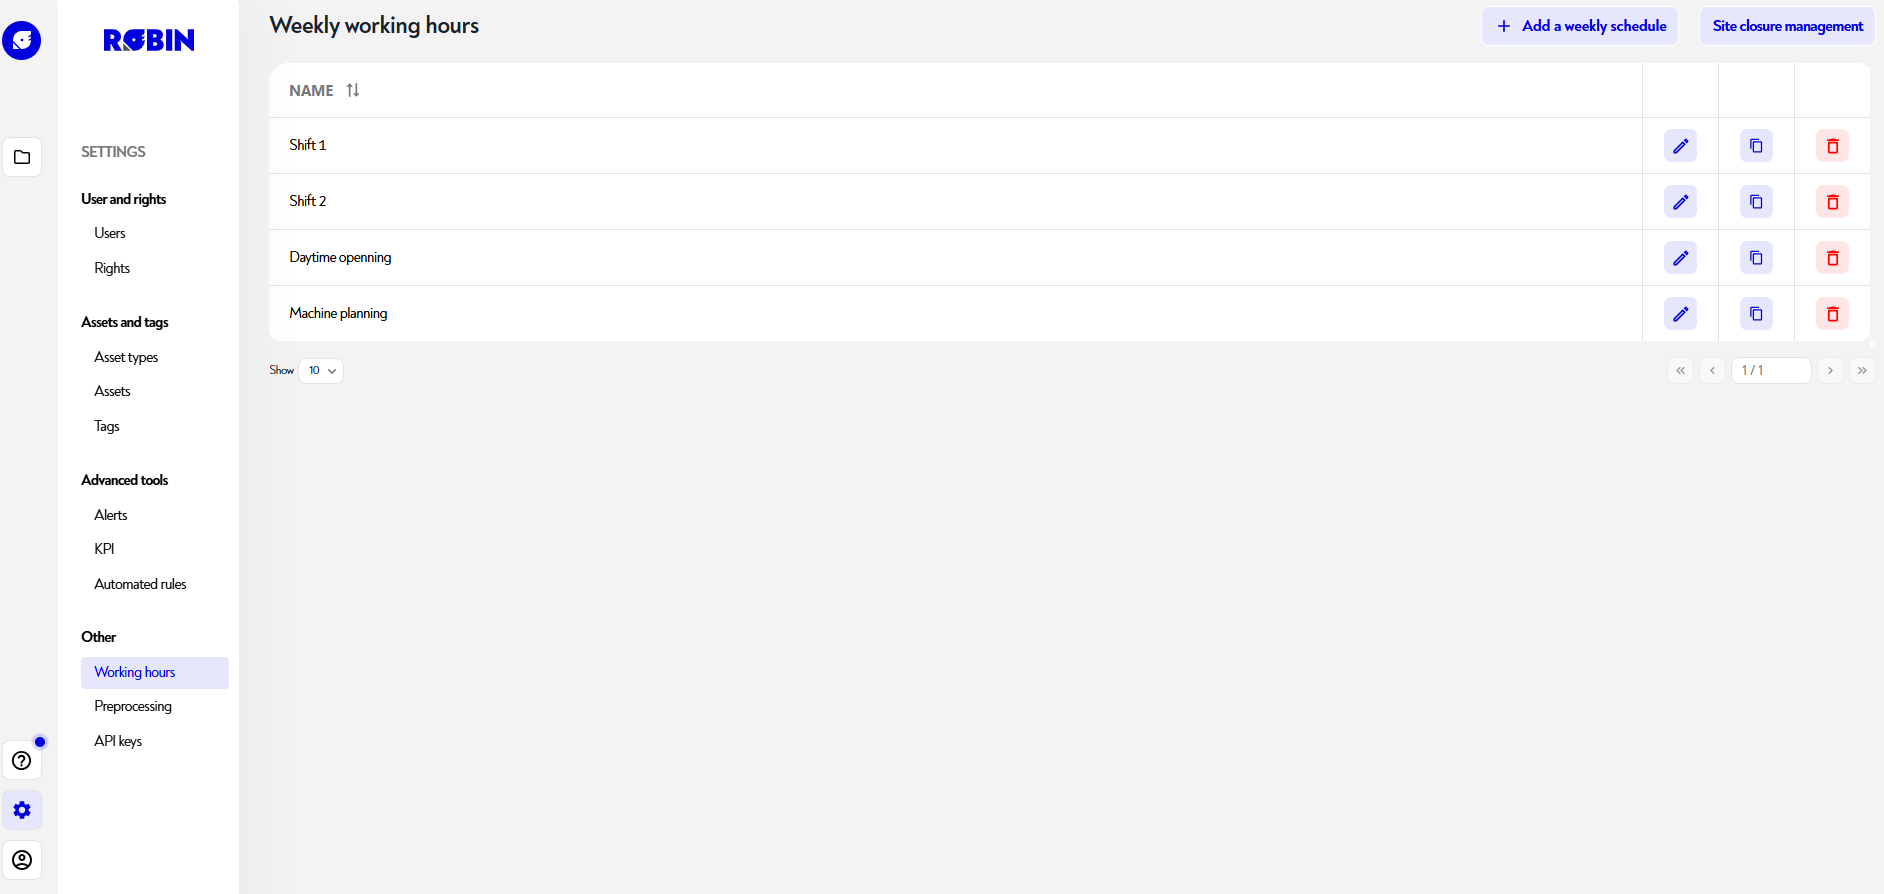
To access the working hours management page, click the gear-shaped button at the bottom left of the navigation bar, then click "working hours" in the "Users and rights" section, as shown below:
¶ Add or edit a weekly schedule
To add working hours, click the blue "Add weekly schedule" button at the top right of the page. A pop-up then appears so you can choose your preset:
- continuous opening
- closed on weekends
- open during the day
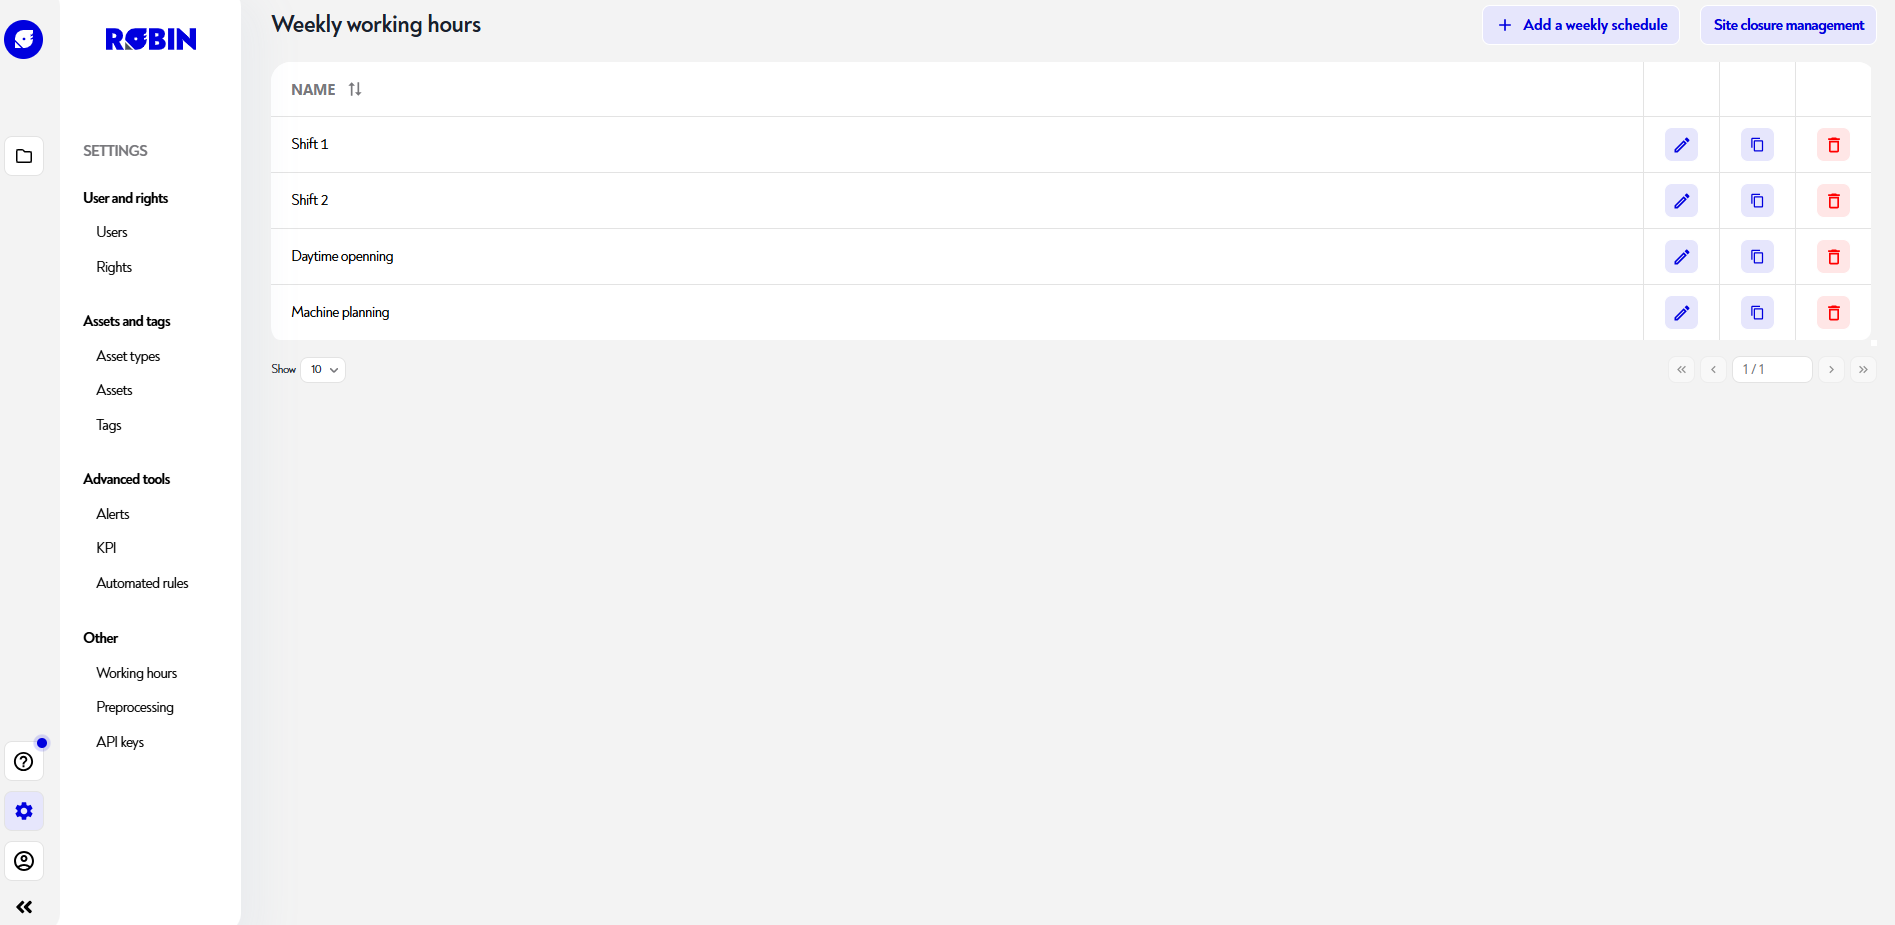
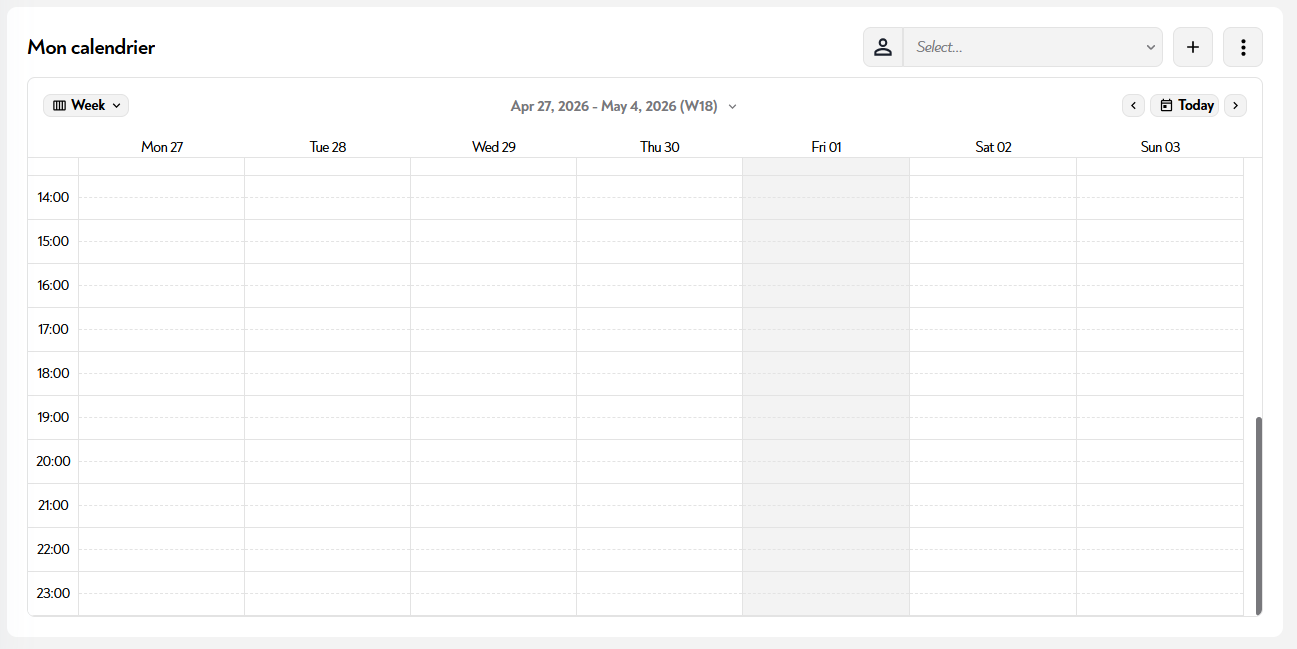
You then get your weekly schedule and your list of created schedules as shown below:
To edit/delete a schedule, click on the pencil to the right of the line of the schedule you want to edit. An edit pop-up appears as shown below:
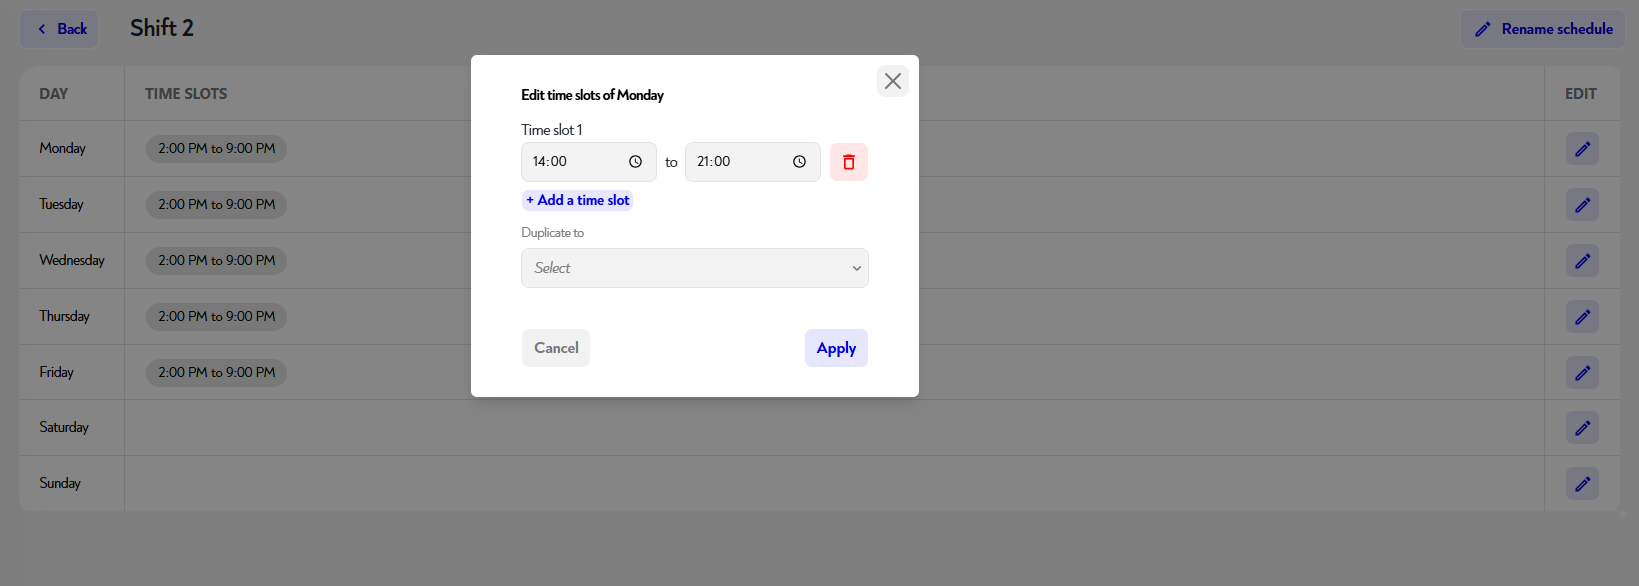
You can then delete the time slot by clicking the red trash icon and edit or add time slots.
If you want to replicate this time slot across several days of the week, you can select them and duplicate the schedule.
¶ Rename a schedule
To rename a schedule, click the pencil-shaped icon to the right of the relevant schedule row. In the edit pop-up, you can change the schedule name at the top of the form, then click "Save".
¶ Schedule a site closure:
Site closures can also be used to configure recurring global closures, such as:
- the national public holidays
- the annual closure (e.g. August)
- any planned interruption of activity
To do this, use the recurrence option when creating your site closure. For example, configure a yearly recurrence for January 1 to automatically create the closure every year.
Site closures are taken into account in business-hours indicator calculations for all site assets.
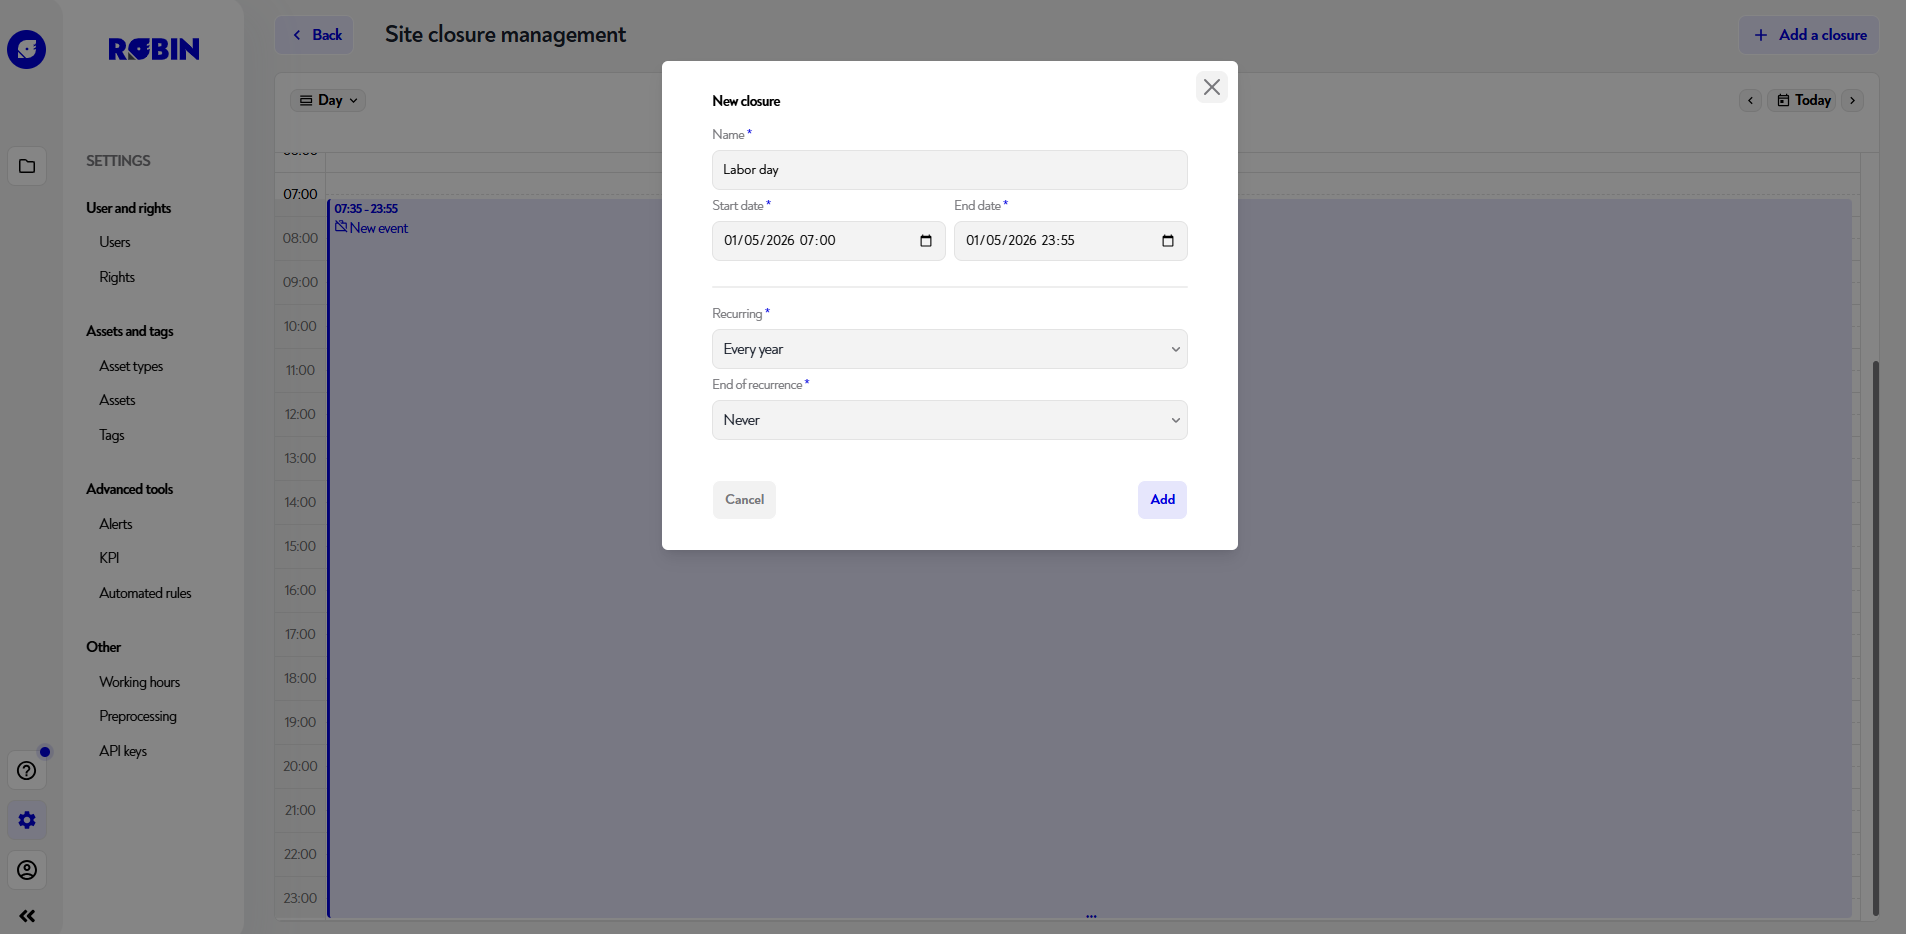
To add a site closure, click the blue "Add site closure" button at the top right of the page. A pop-up then appears so you can configure your event.
You can then choose its name, date, and recurrence.
Your closure is then shown in gray in your calendar:
Does this page seem unclear or do you need help? Feel free to contact us at support@zozio.tech !